Hey
everyone!
This
week I’m going to talk about the character I've been working on the last couple
of days.
I’m not
going to tell much about the project that I’m working on. One thing I can tell, it has nothing to do with
cars or what so ever.
I had to
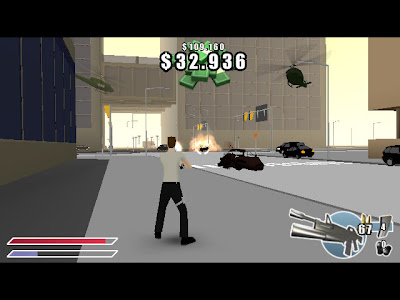
make a character with the same looks as the main character of the game called “The
Hammer”. This is one of the first games Xform made!
So with
that game as my main reference. I started to begin on my character.
I always
make one half of an object. I do this with almost everything I make, cars,
props, weapons and in this case a character.
During modelling an object you always want to know how the model will look like in total. For this, there are several easy methods in 3Ds Max to get that. Personally I always make an instance of my model. This allows me to work on one model while the other one also get the same changes. There is also another tool in 3Ds Max what you can use, called symmetry.
When I’m
satisfied with my model, I begin to unwrap. After unwrapping is done I attach
the model to the other to get it complete. I do this after unwrapping so I won’t
have to unwrap everything. Now I just have to separate the unwraps of each
other and weld them together.
After
that I added the biped to my character and used skin to rig him.
When the
rig is done, I always make an test animation to check if the character is
rigged well.
Here is an
example
As you
can see, there is one vertex that is sticking out. Apparently that vertex was
also attached to the Left Upper Arm.
So I select the vertexes that are attached to
the wrong bones and reattach them to the correct bones.
This is easily
done in the skin modifier.
So after
the Rig is completed I started with my texture.
I’m not going into this. That is for another time.
A nice end pose, added some random weapons.
And the deed is done for now!
Hails!
Eugène


